Introduction
Tech devices are an essential part of our lives, but they can be expensive to fix when they break. With a little knowledge and the right tools, you can tackle common issues yourself and save both time and money.
This guide will teach you how to handle DIY tech repairs with confidence, covering beginner-friendly fixes, safety tips, and expert insights.
If you enjoy working on tech projects, check out our guide on building a robot with Arduino to expand your skills.
Essential Tools for DIY Tech Repairs
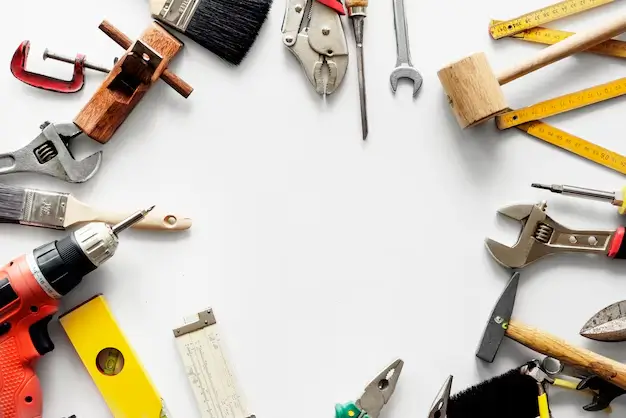
Before you start, stock up on these must-have tools:
- Precision Screwdriver Kit: For handling tiny screws in gadgets.
- Anti-static Wrist Strap: Protects devices from static electricity damage.
- Heat Gun: Useful for loosening adhesives during screen repairs.
- Plastic Pry Tools: Prevents scratches while opening devices.

Comparison Table: Basic Tools vs. Advanced Tools for DIY Repairs
| Tool Type | Basic Tools | Advanced Tools |
|---|---|---|
| Screwdrivers | Standard screwdriver set | Precision screwdriver kit with magnetic tips |
| Opening Tools | Plastic pry tools | Professional-grade spudger set |
| Safety Equipment | Anti-static wrist strap | Anti-static mat with grounding wire |
| Adhesive Tools | Regular adhesive tape | Heat gun for adhesive loosening |
| Power Tools | Manual tools like small pliers | Electric screwdrivers or rotary tools |
Safety Tips Before You Begin
Safety is paramount when working on electronic devices. Follow these precautions:
- Always unplug devices before starting repairs.
- Work in a well-lit, ventilated area.
- Wear an anti-static wristband to prevent static damage.
- Organize small parts to avoid losing them.
Step-by-Step DIY Repair Guides
1. Smartphone Screen Replacement
Cracked screens are one of the most common issues. Here’s how to fix them:
- Gather your tools and a replacement screen.
- Heat the edges with a heat gun and use a pry tool to remove the damaged screen.
- Connect the new screen’s flex cable and secure it with adhesive.
2. Laptop Keyboard Repair
Fix unresponsive or stuck keys with this method:
- Remove the affected keys and clean the area with compressed air.
- If cleaning doesn’t help, replace the keyboard panel.

3. Tablet Battery Replacement
If your tablet’s battery doesn’t hold a charge:
- Use a heat gun to loosen the back panel.
- Disconnect the battery cable and remove the old battery.
- Install the new battery and reassemble the device.
Understanding battery types is essential for DIY repairs; read our guide on LR41 battery equivalents for more information.
Common Mistakes to Avoid
- Over-tightening screws can strip threads.
- Skipping safety precautions may lead to damage or injury.
- Using incorrect tools can make repairs harder.
Conclusion
Mastering DIY tech repairs isn’t just cost-effective—it’s empowering. With the right tools, techniques, and a willingness to learn, you can tackle most gadget issues at home. Share your success stories in the comments and inspire others to join the DIY tech repair journey!
For more advanced tech enthusiasts, our article on Arduino vs. Raspberry Pi provides a detailed comparison to help you choose the right platform for your projects.