Introduction
Are you ready to light up your creativity? DIY LED projects are the perfect way to dive into the world of electronics, offering a mix of fun, learning, and practicality. Whether you’re a beginner or someone looking to add a personal touch to your decor, these projects are affordable, engaging, and surprisingly easy to execute. Let’s get started!
Looking to expand your DIY skills beyond LED projects? Check out our detailed guide on Smart Home Automation with Arduino to bring convenience and innovation into your living space!
What Are DIY LED Projects?
DIY LED projects involve creating custom lighting designs using LEDs (light-emitting diodes) and basic electronic components. These projects can range from simple throwies to intricate programmable light displays. The best part? They’re perfect for beginners and pros alike, allowing you to learn while creating something unique.
Benefits include:
- Learning basic electronics.
- Enhancing creativity.
- Creating budget-friendly lighting solutions.
Top 10 DIY LED Projects for Beginners
Before diving into the projects, it’s crucial to gather the necessary tools and materials. Additionally, observing safety precautions ensures a smooth and secure crafting experience for beginners.
1. LED Throwies: A Fun and Easy Beginning
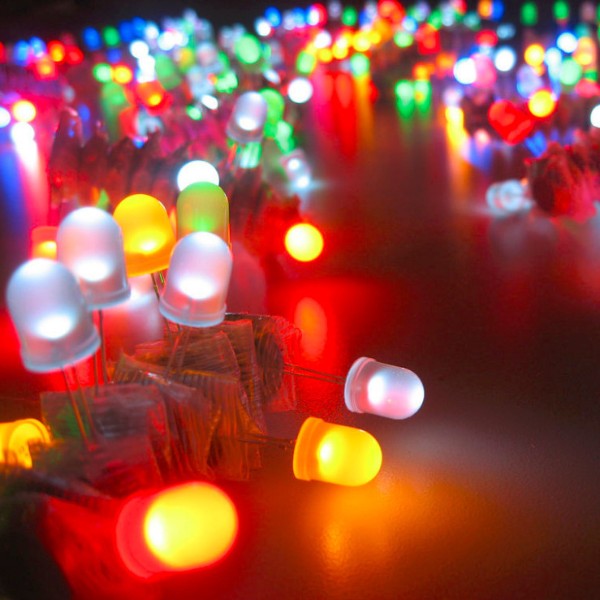
LED throwies are a playful introduction to the world of DIY LEDs. These small, colorful lights can be attached to various surfaces, providing a simple yet delightful way to illuminate spaces. Let’s explore how to make them and discover creative applications.
Materials Needed:
- LEDs
- Coin cell batteries
- Magnets
- Electrical tape
Instructions:
- Attach the LED to the coin cell battery.
- Secure the connection with electrical tape.
- Attach a magnet to the battery.
- Toss your LED throwies onto any magnetic surface to create a colorful display.
2. Illuminated Mason Jars: Adding Ambiance to Your Space
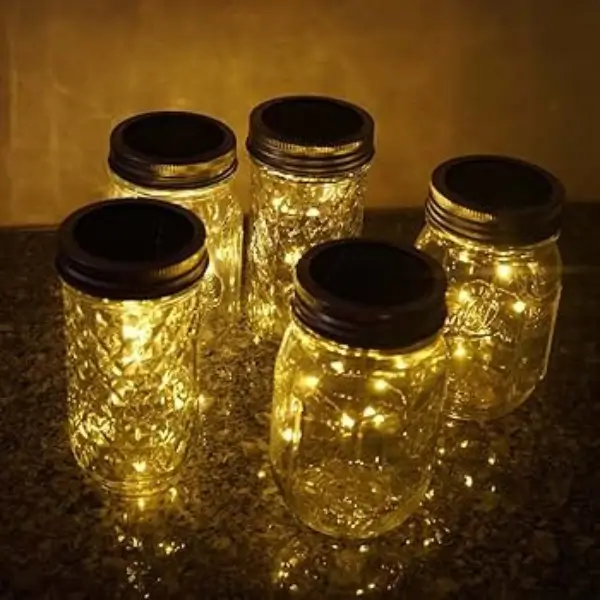
Transforming ordinary mason jars into radiant light sources is a captivating DIY project. We’ll guide you through the process of crafting illuminated mason jars, offering tips on customization for different occasions.
Materials Needed:
- Mason jars
- LED string lights or tea light LEDs
- Batteries (if needed)
- Decorative materials (e.g., glitter, paint, stickers)
- Glue or adhesive (optional)
- Timer switch (optional)
Instructions:
- Prepare Jars: Clean and decorate mason jars. Let them dry.
- Insert Lights: Place LED lights inside the jars.
- Power Lights: Insert batteries or connect to a power source.
- Optional Timer: Add a timer switch if desired.
- Seal Jars: Secure lids with glue if needed.
- Display: Place jars to enhance your space’s ambiance.
3. LED Light Strips: Transforming Spaces with Color
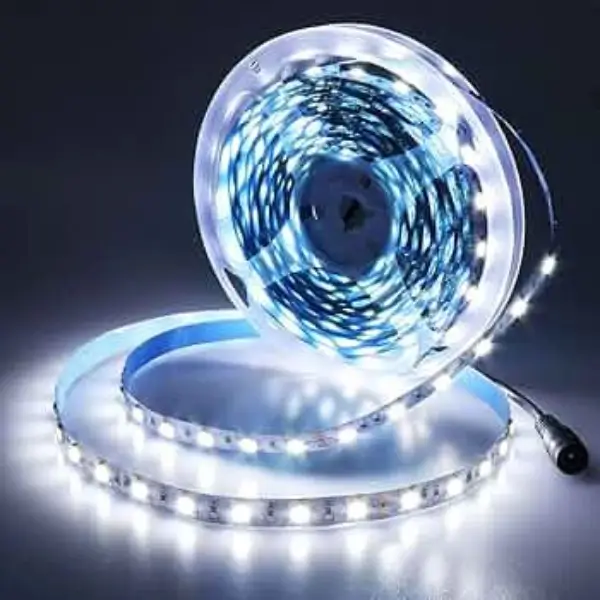
LED light strips are versatile and can be used to add vibrant accents to any setting. Learn the basics of installing LED light strips creatively and discover the benefits of incorporating them into your DIY projects.
Materials Needed:
- LED strip
- Power adapter
- Connector clips or soldering tools
- Switch (optional)
Instructions:
- Cut the LED strip to your desired length.
- Connect the LED strip to the power adapter using connector clips or by soldering.
- Optionally, add a switch to control the lights.
- Plug in the power adapter and enjoy your LED strip light.
4. DIY LED Cloud Light: Bringing the Sky Indoors
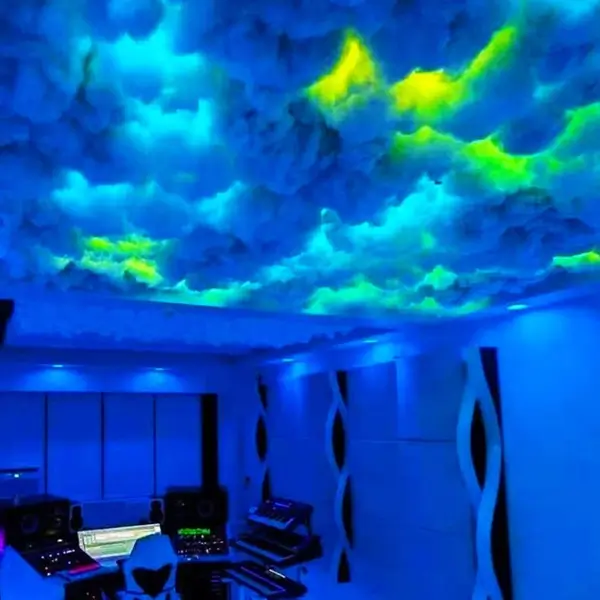
Create a dreamy atmosphere by crafting your cloud-shaped LED light. We’ll walk you through the steps to achieve a mesmerizing cloud effect and explore different settings where LED cloud lights shine.
Materials Needed:
- LED strip lights or LED fairy lights
- Cotton batting or polyester fiberfill
- Paper lanterns or plastic bottles
- Hot glue gun and glue sticks
- Fishing line or string (for hanging)
- Scissors
- Power adapter (if using LED strip lights)
Instructions:
- Prepare the Base:
- Use paper lanterns or cut plastic bottles to create the base shape of your cloud.
- Attach LED Lights:
- Insert and secure the LED lights inside the lanterns or bottles.
- If using LED strip lights, ensure they are evenly spaced.
- Create the Cloud Effect:
- Hot glue cotton batting or polyester fiberfill to the exterior of the base, covering it completely.
- Fluff and shape the cotton to resemble a cloud.
- Connect to Power:
- Connect the LED lights to the power adapter and plug it in.
- Hang the Cloud Light:
- Attach fishing line or string to the cloud and hang it from the ceiling.
- Test and Adjust:
- Turn on the LED lights to ensure they work properly.
- Adjust the cotton batting if needed to achieve the desired cloud appearance.
5. Creating LED Art: From Pixels to Illumination
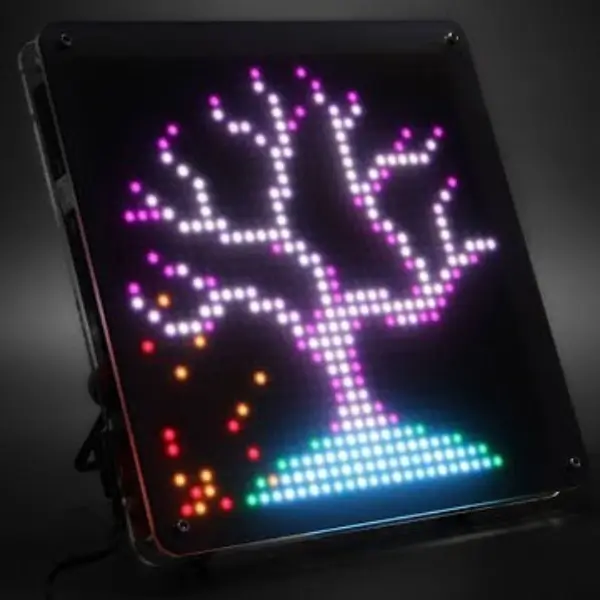
Unleash your inner artist by crafting mesmerizing LED art pieces. Whether it’s a glowing wall mural or a dynamic pixel display, LED art transforms ordinary spaces into vibrant canvases.
Materials Needed:
- LEDs (individual or strips)
- Microcontroller (e.g., Arduino)
- Diffusion material (e.g., frosted acrylic)
- Wires and connectors
- Power supply
Instructions:
- Design Your Artwork: Sketch your desired pattern or image.
- Set Up the LEDs: Arrange LEDs according to your design on a suitable backing.
- Program the Microcontroller: Write code to control LED patterns and effects.
- Assemble the Piece: Connect components, ensuring all wiring is secure.
- Add Diffusion Material: Place frosted acrylic over LEDs for a softened light effect.
- Power Up: Connect to a power source and watch your art come alive!
Tips:
- Experiment with different colors and animations to enhance visual appeal.
- Use software like Tinkercad to simulate your design before building.
6. LED Flower Pots: Adding a Touch of Nature to Lights
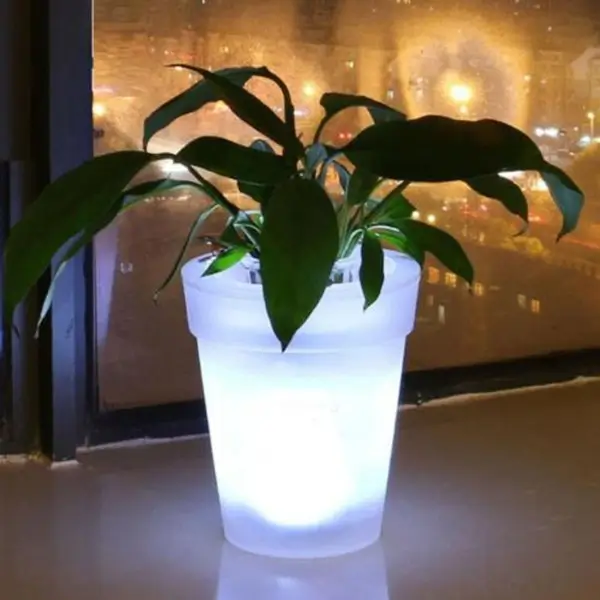
Combine the beauty of nature with the allure of technology by creating LED-illuminated flower pots. These glowing planters add a magical ambiance to any room or garden.
Materials Needed:
- Transparent or translucent flower pots
- Waterproof LED strips or fairy lights
- Drill with hole saw attachment
- Silicone sealant
- Plants and soil
Instructions:
- Prepare the Pot: Drill a hole at the base for the LED wiring.
- Insert LEDs: Feed the LED strip through the hole, lining the interior of the pot.
- Seal the Entry Point: Apply silicone sealant to prevent water leakage.
- Plant Your Greenery: Add soil and your chosen plant.
- Connect to Power: Ensure the power source is safe for outdoor use if placing outside.
Tips:
- Opt for solar-powered LEDs for an eco-friendly touch.
- Choose moisture-resistant LEDs to ensure longevity.
7. LED Cube: Building a Dazzling 3D Light Show
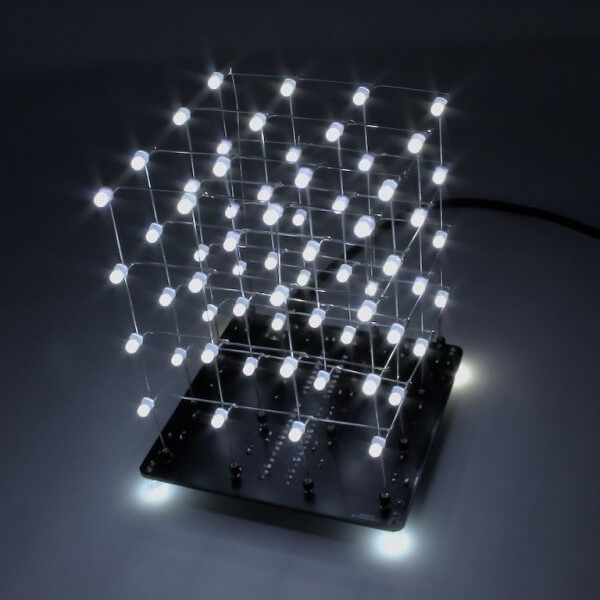
Turn your room into a techy light spectacle with a custom-built LED Cube! This project combines engineering and artistry to create a 3D grid of LEDs that can display captivating animations and patterns.
Materials Needed:
- LEDs (pick single color or RGB for extra flair)
- Resistors
- Soldering kit and wire
- Microcontroller (e.g., Arduino)
- Acrylic or wooden base
- Power supply
Instructions:
- Design the Frame: Sketch out the cube’s dimensions and decide how many LEDs will form each layer. A 4x4x4 grid is a popular beginner choice.
- Assemble the Layers: Solder LEDs into horizontal rows, ensuring proper spacing. Repeat for multiple layers.
- Stack and Connect: Use wires to join each layer into a vertical 3D grid. Be precise—good alignment makes all the difference!
- Integrate the Microcontroller: Connect the LED grid to the Arduino, ensuring each row and column is individually addressable.
- Program the Patterns: Write code to control the LEDs, creating light animations like waves, spirals, or blinking patterns.
- Power Up and Enjoy: Attach the power source, upload your program, and marvel as your cube comes to life!
Tips:
- Start with simple patterns to test your wiring before diving into complex animations.
- Diffuse the LEDs using a semi-transparent acrylic cover for a softer, more professional glow.
8. LED Bottle Lamp: Turning Bottles into Glowing Art
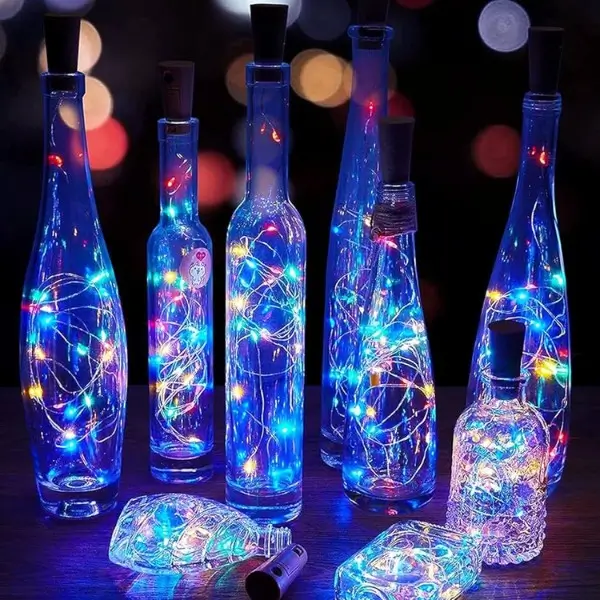
Breathe new life into empty bottles by transforming them into enchanting LED lamps. This eco-friendly project is simple yet impactful—perfect for cozy nights or vibrant parties!
Materials Needed:
- Glass or plastic bottle (choose a shape and color you love)
- LED string lights or a single LED bulb
- Drill with glass drill bit
- Decorative elements (optional, like glitter or paint)
- Power supply or battery pack
Instructions:
- Prepare the Bottle: Clean the bottle thoroughly and remove any labels. If desired, add paint, etching, or glitter for decoration.
- Drill a Hole: Carefully drill a small hole near the bottom of the bottle for the LED wire. Be patient to avoid cracking the glass.
- Insert LEDs: Feed the LED string through the hole and arrange them inside the bottle. If using a single bulb, secure it near the neck for an even glow.
- Seal and Power Up: Connect the LED wire to a battery pack or plug it into a power source. Seal the hole with silicone for a clean finish.
- Display Your Masterpiece: Place your glowing bottle lamp on a shelf, table, or nightstand to instantly enhance the ambiance.
Tips:
- Use bottles with textured surfaces for unique light diffusion.
- Opt for color-changing LEDs for a dynamic, mood-setting effect.
9. DIY LED Furniture: Functional and Stylish Designs
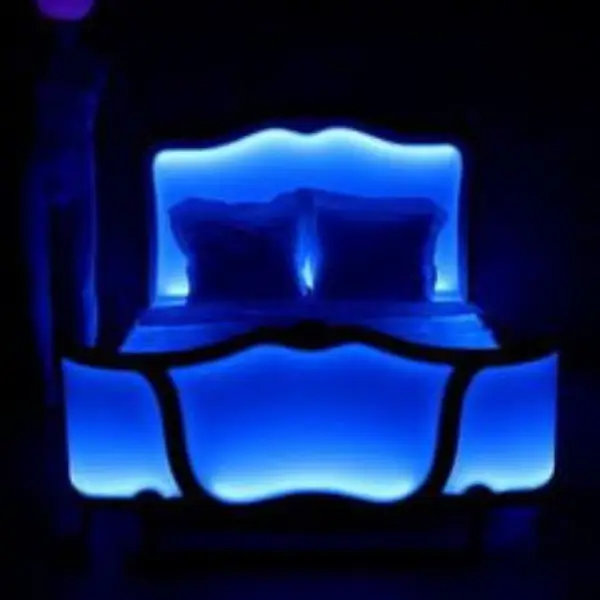
Transform everyday furniture into illuminated masterpieces. LED-integrated furniture adds a modern and functional flair to your decor.
Materials Needed:
- Furniture piece (e.g., coffee table, shelves)
- LED strips
- Power drill
- Adhesive mounts or clips
- Power supply
Instructions:
- Plan the Layout: Decide where to place the LEDs for optimal lighting.
- Prepare the Furniture: Drill holes or channels to hide wiring if necessary.
- Attach LEDs: Secure the LED strips using adhesive mounts or clips.
- Conceal Wires: Tuck away any visible wiring for a clean look.
- Connect to Power: Plug in and test the illumination.
Tips:
- Use LED strips with diffusers to soften the light and prevent glare.
- Consider adding a dimmer switch for adjustable ambiance.
10. LED Wall Art: Transforming Walls into Luminous Masterpieces
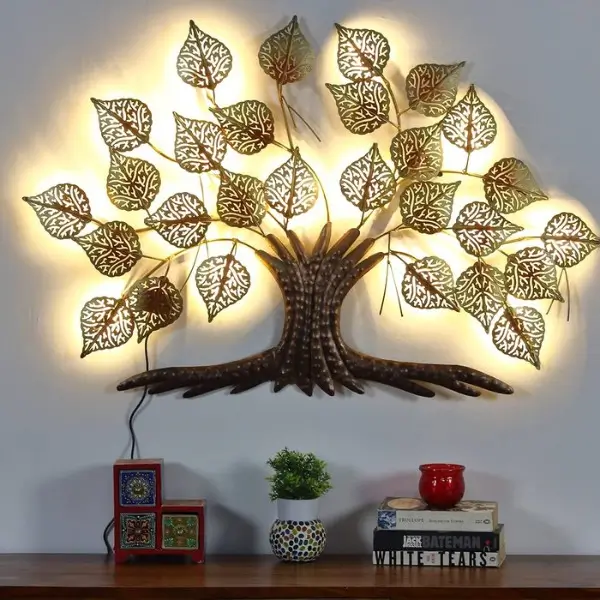
Elevate your interior design with custom LED wall art! From glowing shapes to abstract patterns, this project blends creativity and technology to create a stunning statement piece.
Materials Needed:
- LED strips or individual LEDs
- Base material (wood, acrylic, or foam board)
- Diffuser material (e.g., frosted acrylic or fabric)
- Glue or adhesive mounts
- Power supply
- Optional: Smart LED controllers for app-based color changes
Instructions:
- Design Your Artwork: Sketch your vision—whether it’s geometric shapes, a nature-inspired scene, or abstract art. Ensure the design accommodates LED placement.
- Prepare the Base: Cut or shape your chosen base material to match your design. Drill holes or channels for the LED wiring as needed.
- Attach LEDs: Arrange and secure the LEDs onto the base, following your design. Use adhesive mounts or glue for precision.
- Add a Diffuser: Cover the LEDs with frosted acrylic or fabric to create a soft, even glow.
- Connect and Mount: Attach the LED wires to the power supply and test your creation. Mount the piece on your wall for an instant wow factor.
Tips:
- Use smart LEDs to create programmable effects or sync lighting with music.
- Experiment with layering materials to add depth to your artwork.
Conclusion
DIY LED projects are a brilliant way to explore creativity and learn the basics of electronics. From simple throwies to advanced sound-reactive displays, the possibilities are endless. So grab your tools, pick a project, and light up your world today!